*This DIY Watercolor Mug was previously posted on another site, but it’s new here. So, I’ve changed some words here and there, but the DIY is the same. Enjoy!
Are you a little behind with your Holiday shopping? Don’t worry, so am I. I am thankful for Amazon Prime (affiliate link) and DIYs to get me by this holiday season. One of my favorite things to give and receive is coffee mugs. I have a quite healthy collection of coffee mugs.
Here’s a mug I made for my swap Erika from Cat Eyes and Skinny Jeans for the last year’s Sweet Progress Fall Swap. I used a Sharpie Paint Marker and it worked like a dream. (You must heat the mug in an oven for the paint to adhere permanently.)
I even decided to make some for my daughter’s friends for her 11th Birthday Sleepover Party. (Last year)
Today I thought I’d share another coffee mug DIY that is sure to please.
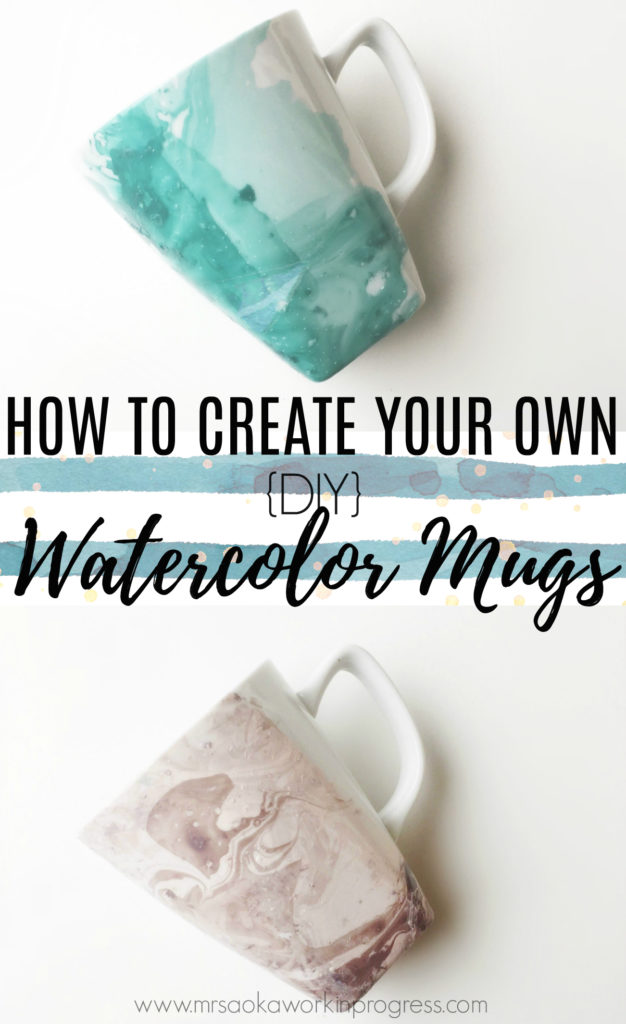
DIY Watercolor Mug
Just a quick warning: THIS DIY IS ADDICTING! (Plus it’s cheap, I already had the mugs and nail polish.) You may find yourself ransacking your cupboards for things to freshen up with color. Besides being super simple and addicting, this DIY is not expensive.
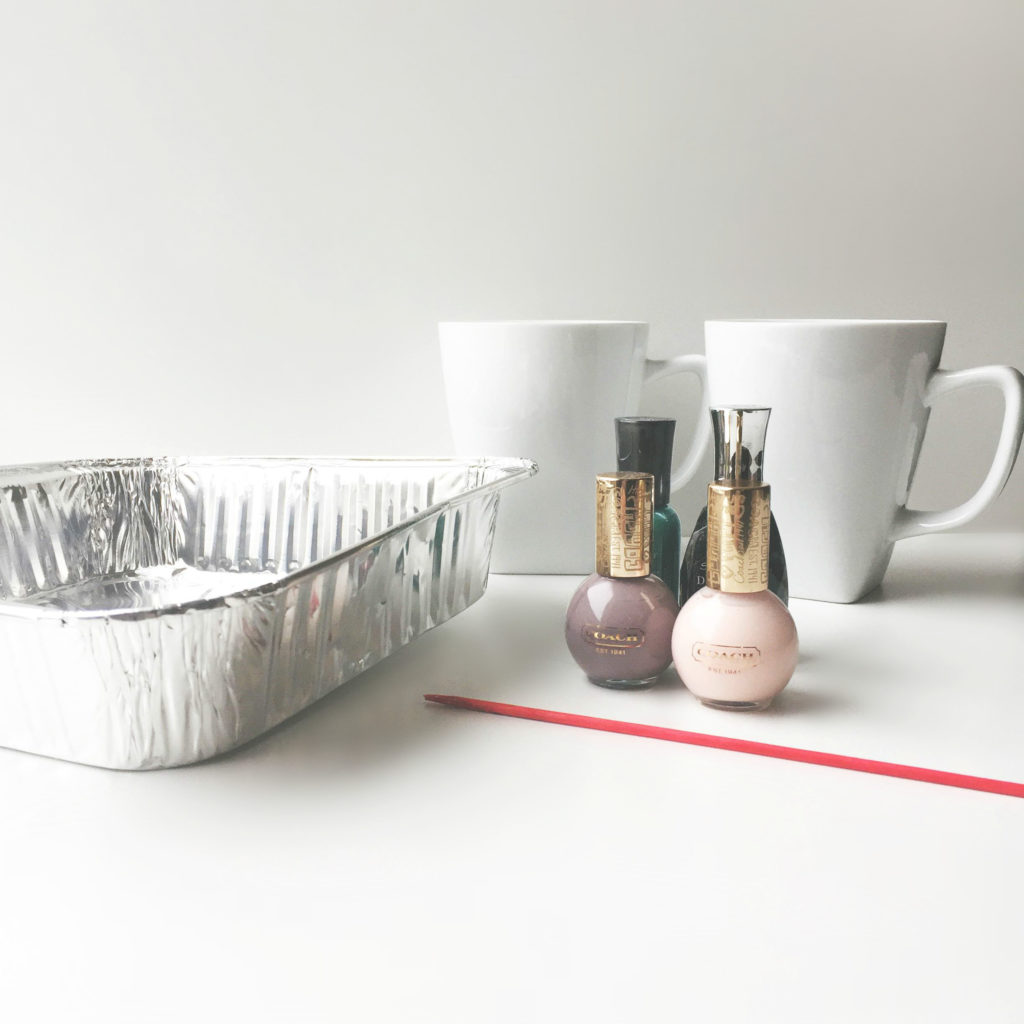
Here is what you will need to create your own DIY Watercolor Mugs:
- White or cream coffee mugs
- Nail Polish (DO NOT USE QUICK DRYING NAIL POLISH)
- A bowl you don’t care about or a disposable foil pan
- toothpicks or some disposable chopsticks
- a pitcher of lukewarm water
- paper towels
How to create your own DIY Watercolor Mugs:
Add lukewarm water to your container, make sure the water is not too cold or too hot, it must be lukewarm. We kept a pitcher of hot water nearby if water began to cool. You have to move quick, so make sure you have all your supplies ready to go. Add a few drops of nail polish to the center of the water and swirl with a toothpick. Quickly dip your mug into the water. With the same quickness raise your mug, turn your mug upside down and place on paper towels to dry. You can pat dry if you would like, but DO NOT wipe. Make sure to skim the water before repeating the process with an additional mug. You can dip a mug multiple times, but make sure the water is not murky or cold.
Let your mugs dry overnight. Hand wash your mug and enjoy. Cheers!
What’s your favorite go-to DIY for last minute holiday/birthday gifts?


rawsonjl
December 11, 2017 at 5:46 pmI keep seeing this technique used on so many thing and I want to try it so bad! It sounds like so much fun!!
robin rue
December 12, 2017 at 1:37 pmI absolutely LOVE this idea. I have a bunch of people I want to make one for, but I am also kind of hoping someone makes one for ME 🙂
theclutterboxblog
December 12, 2017 at 3:55 pmI have never dipped anything before but have always wanted to. Your turned out so lovely! Definitely will have to try this one day!
Melissa Chapman
December 12, 2017 at 4:22 pmNeat technique of staining the mug. I would love to do this with the kids to have a cool craft and see how many different variations we could make
Laura @ MommyDearest
December 12, 2017 at 5:29 pmI have seen this and wanted to try it for sometime. I think it’s great. I think I’ll be hitting up the store for some mugs and trying this on the weekend,
msratliff
December 12, 2017 at 7:59 pmI’ve seen these so much, and I wondered how they were made. So cute! Definitely will need to make them soon. Thank you so much for sharing!
Serena Lissy
December 12, 2017 at 9:55 pmI haven’t seen this before. What a great idea and a super fun diy. I think I’ll be looking for some mugs this weekend.
Krystal Butherus
December 12, 2017 at 10:43 pmThis is something I’ve never heard of! I love this DIY. It looks really easy and yours is so colorful.
Rachel
December 12, 2017 at 10:44 pmThese were on our list for things to make at my daughter’s birthday party, but I think that I would have liked them more than her friends. Not a big coffee drinkers in 6th grade.
Cindy Ingalls
December 12, 2017 at 11:02 pmThis is such a great idea. I have tons of nail polish lying around so I could get very creative with my color choices. It would be fun to do a whole set for family and friends or as little tokens to give after a holiday party.
AnnMarie John
December 13, 2017 at 5:40 amI love how the mug looks afterwards! It’s definitely a lovely gift idea for loved ones. It’s also super fun to make!
AnnMarie John
December 13, 2017 at 5:42 amWhat a fun idea! I’ve never done this before and it would be super fun to make these mugs! It’s a lovely gift for family and friends as well.
Erica
December 13, 2017 at 12:39 pmI want to make a mug like that! They’re so pretty! That totally looks like something you would have bought.
Terri Steffes
December 13, 2017 at 3:32 pmThese are truly the most adorable mugs ever. I cannot wait to give this a try.
SMD
December 13, 2017 at 3:32 pmThe mug DIY seems easy enough that even a non-DIY person like me could do it! The mugs are gorgeous.
briannemanz
December 13, 2017 at 7:28 pmThis is such a cool idea. I am so going to gift these for the holidays!
Ut Minh
December 14, 2017 at 2:34 amI never knew about this. I love your idea. I will host a weekend game with my group of friends. I think it will be fun!
Amber Nelson
December 14, 2017 at 7:13 pmThis is so awesome! I absolutely love this idea. I think this would be fun to do with friends.
❤ TheMrsTee 👓 (@themrstee)
December 14, 2017 at 8:56 pmWhat a super fun craft!! My oldest would love this – just in time for winter break!
asseenonjean88
December 15, 2017 at 12:22 pmThis is such a simple and easy diy but looks so good! Perfect as a Christmas gift or something to keep for yourself 🙂
roxmom2
December 17, 2017 at 7:46 amOh my gosh that’s amazing! I never would have thought to do that, but what a terrific effect! A totally unique gift idea!
Brittany
December 17, 2017 at 3:11 pmWhat a beautiful gift idea! I have so many nail polishes and now I have a way to put them to good use!
Rosie Doal
March 25, 2019 at 4:54 pmThis is such a cute idea. What a lovely gift x #MMBH