*This post contains affiliate links, which is no cost to you, but helps me if you decide to purchase something. 🙂
No Sew DIY Mermaid Costume Inspired by Fancy Nancy
My daughter has a book project coming up for school; she has to dress like a character from a book, decorate a pumpkin like a character from the book, and write about the book on a pumpkin poster. My daughter was delighted to receive this project… and to be honest, I was too. I knew this project would require work from me, but I also knew we would do it together, or also known as 80/20 😀
First, we had to choose a book; my daughter knew she wanted to be a mermaid, but not Ariel. I was on the hunt, I found a Fancy Nancy book we had never read before, Fancy Nancy and the Mermaid Ballet.
The book was cute. Nancy & her friend Bree want to be mermaids in the upcoming ballet, but both of the girls receive roles they are not as fond of. However, another ballerina sprains her ankle, which opens up the coveted mermaid role. Nancy’s best friend Bree, gets the part, Nancy is a bit jealous because she’s still a tree (but not any tree my favorite kind, a weeping willow). In the end, everyone is happy, Nancy loves being a tree, and is happy for her best friend Bree. Cute, right?
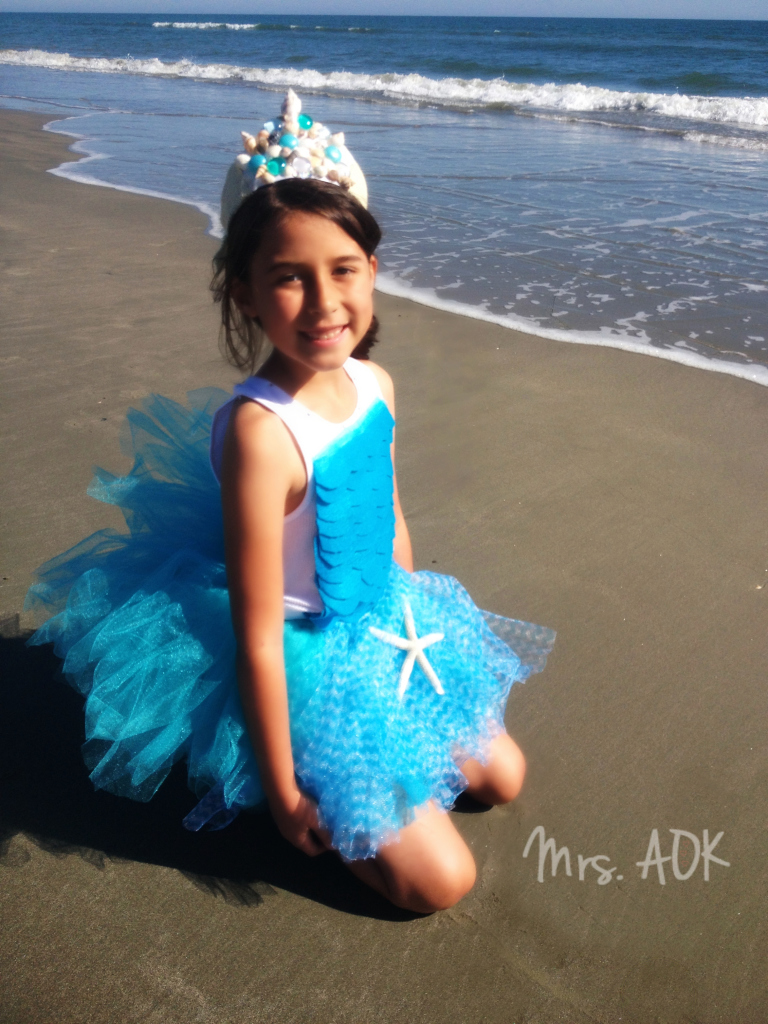
My daughter is dressing up as Bree “the mermaid” and her pumpkin is Nancy “a tree ballerina”.
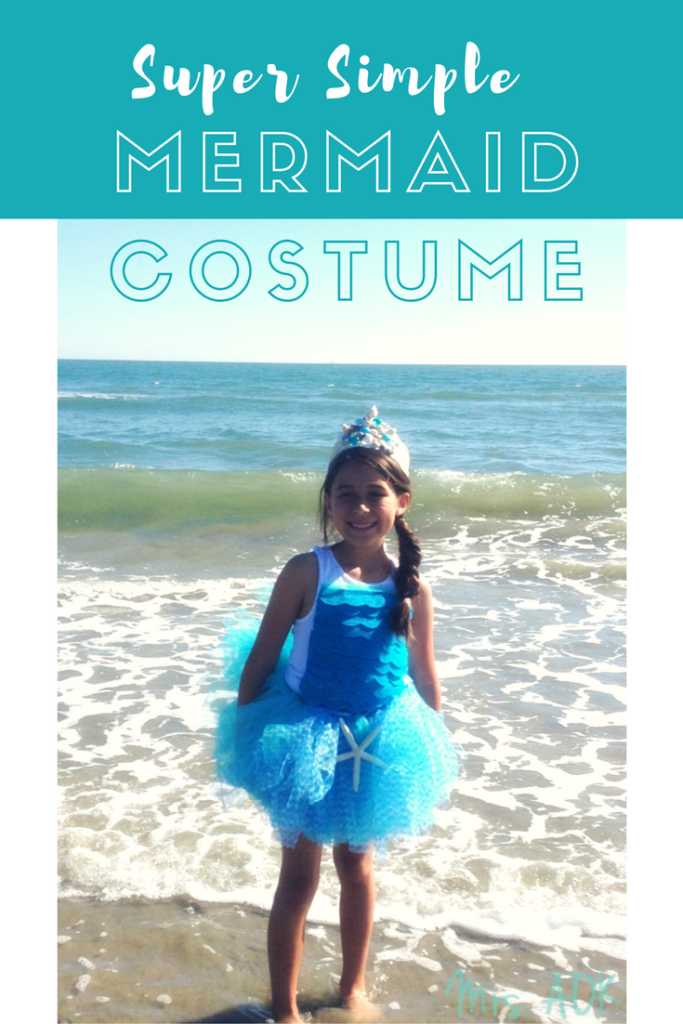
I wanted to share how I put together a quick and easy Mermaidish costume for her.
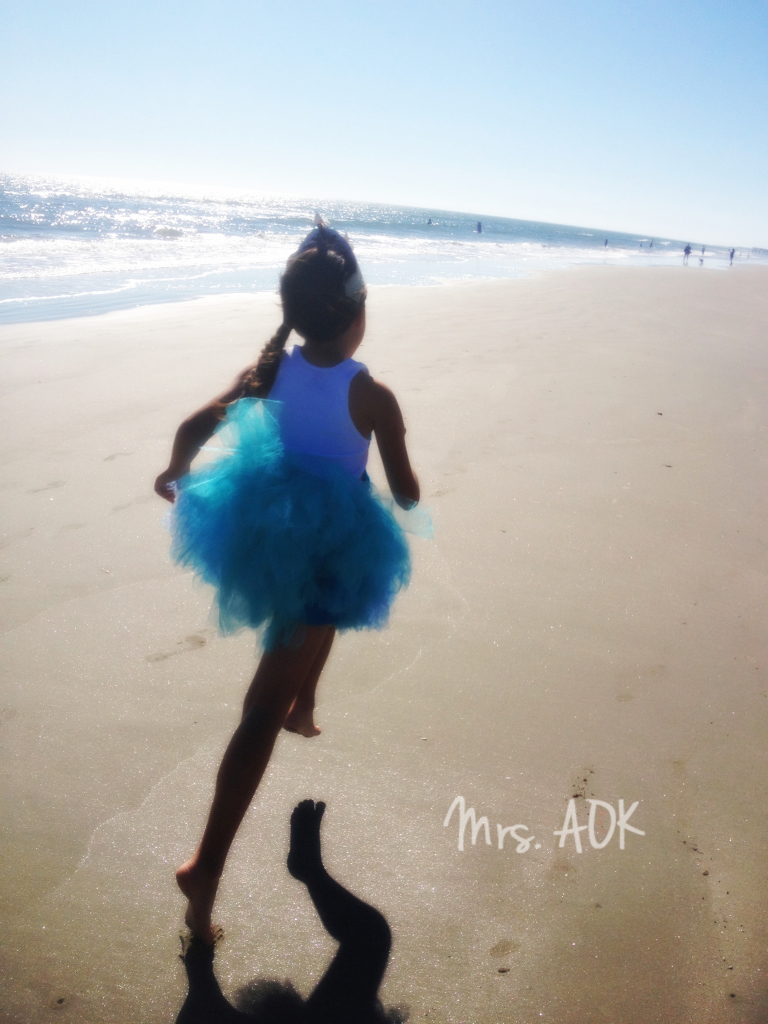
My baby girl knew she wanted a tutu and she knew she wanted it to be poofy! The bigger the better! I explained I could make a more mermaid-style tutu, but she wanted the fluff. I gave the girl what she wanted, while trying to emphasize the whole mermaid thing. I think I did just that with the Mermaid top I made for her.
Here’s what you’ll need:
-
- 3-4 sheets of felt
- scissors
- scallop template
- white chalk
- LOTS of glue sticks
- a reliable glue gun
- tulle
- white tank top (I stole one from my son)
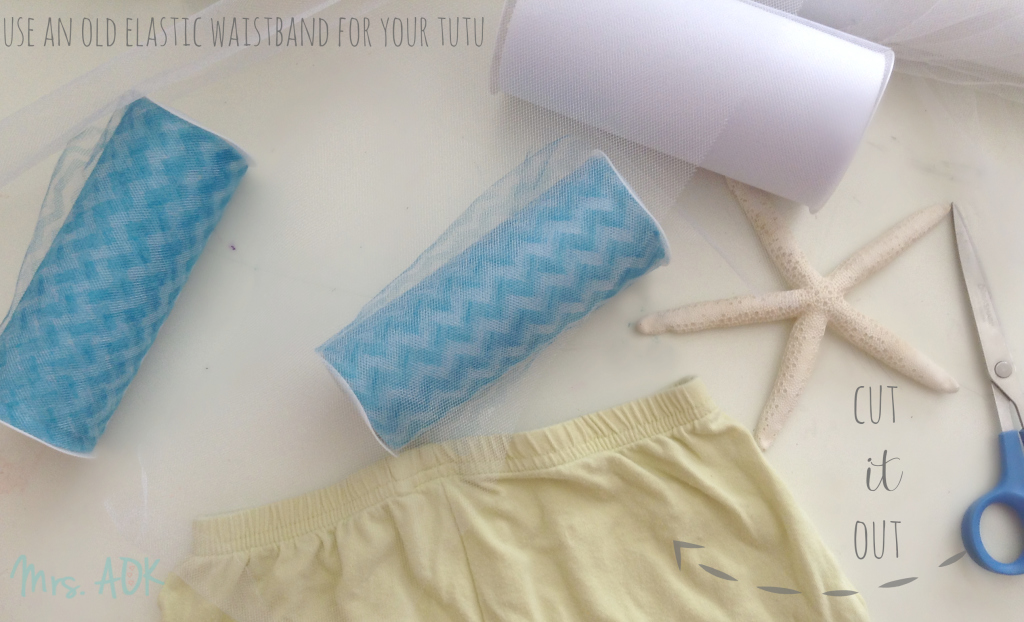
- an elastic band from an old pair of shorts or leggings
- Bedazzler *optional
For my daughter’s mermaid top, I jacked my son for one of his white tanks- you know the ones that use to be referred to by an insensitive term, but now we just say white tank 🙂 I searched online for a scallop template to use as the mermaid scales, I found this template via The Thrifty Ginger, she made a cute scalloped felt wreath with her template 😉
Here’s where the felt comes in
You may want to purchase more in the event you make a mistake or two cutting the felt, considering the felt was about 29 cents a piece, not a big deal. {I purchased my felt at Michaels} Using the downloaded template, I traced the scallops out using white chalk to give me a guide where to cut. Okay, I didn’t cut all the felt, I had little helpers 🙂
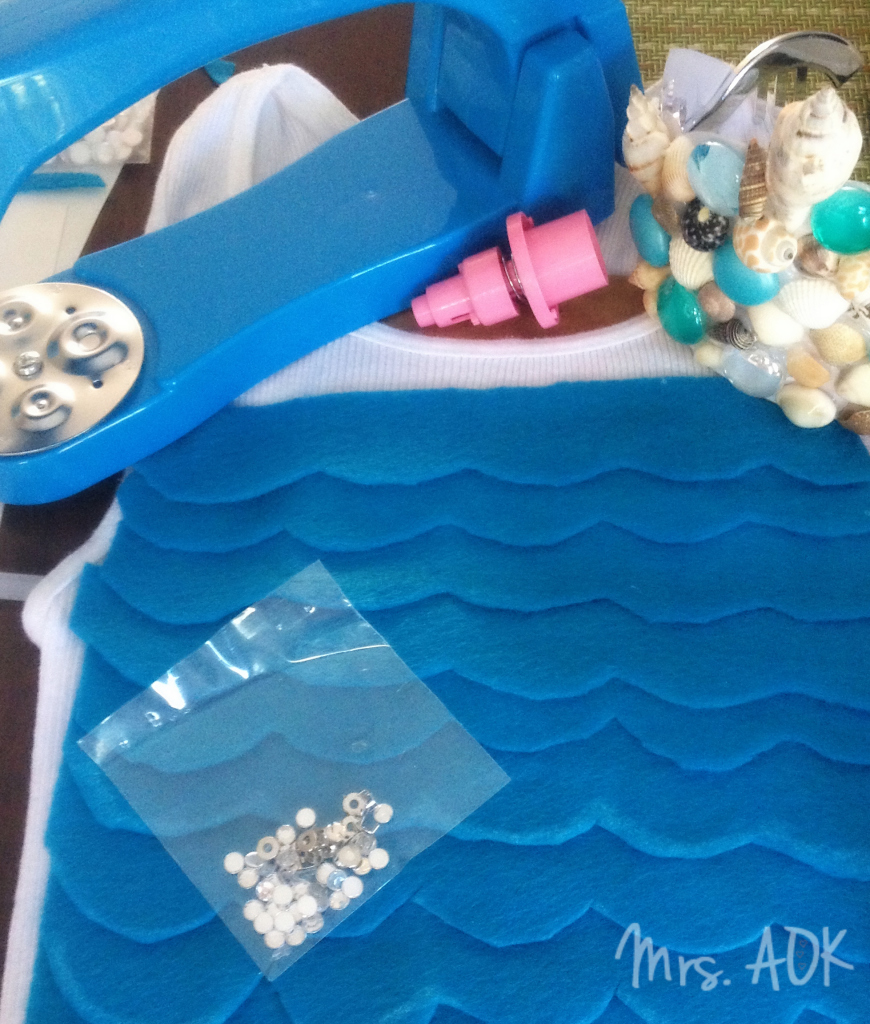
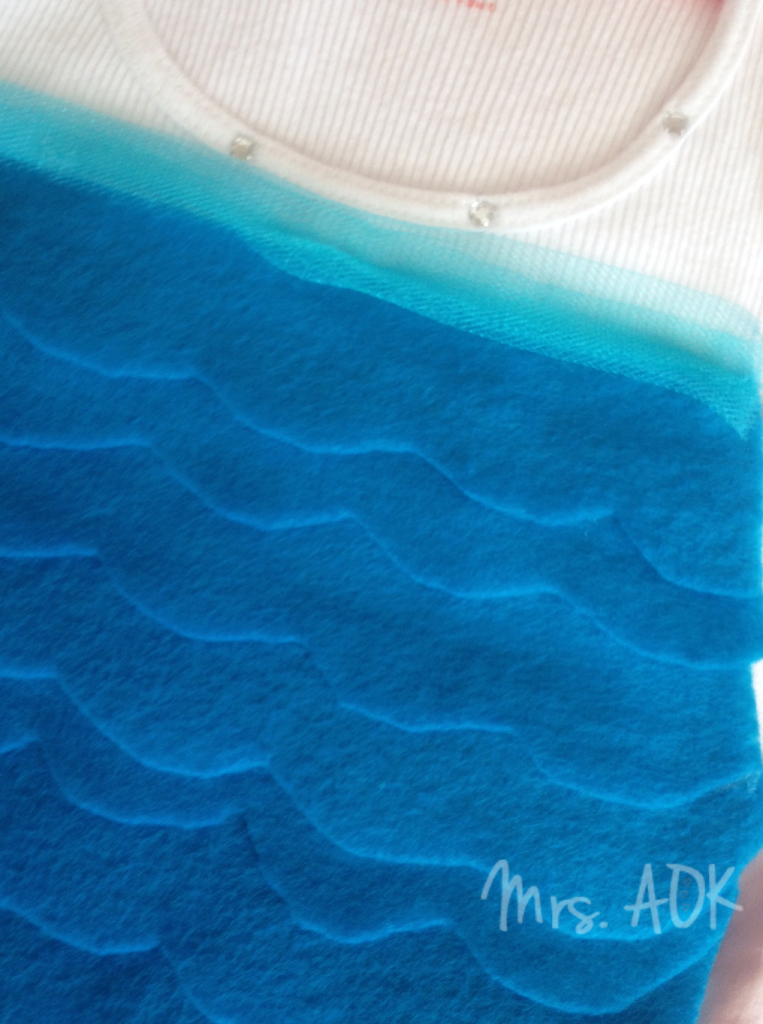
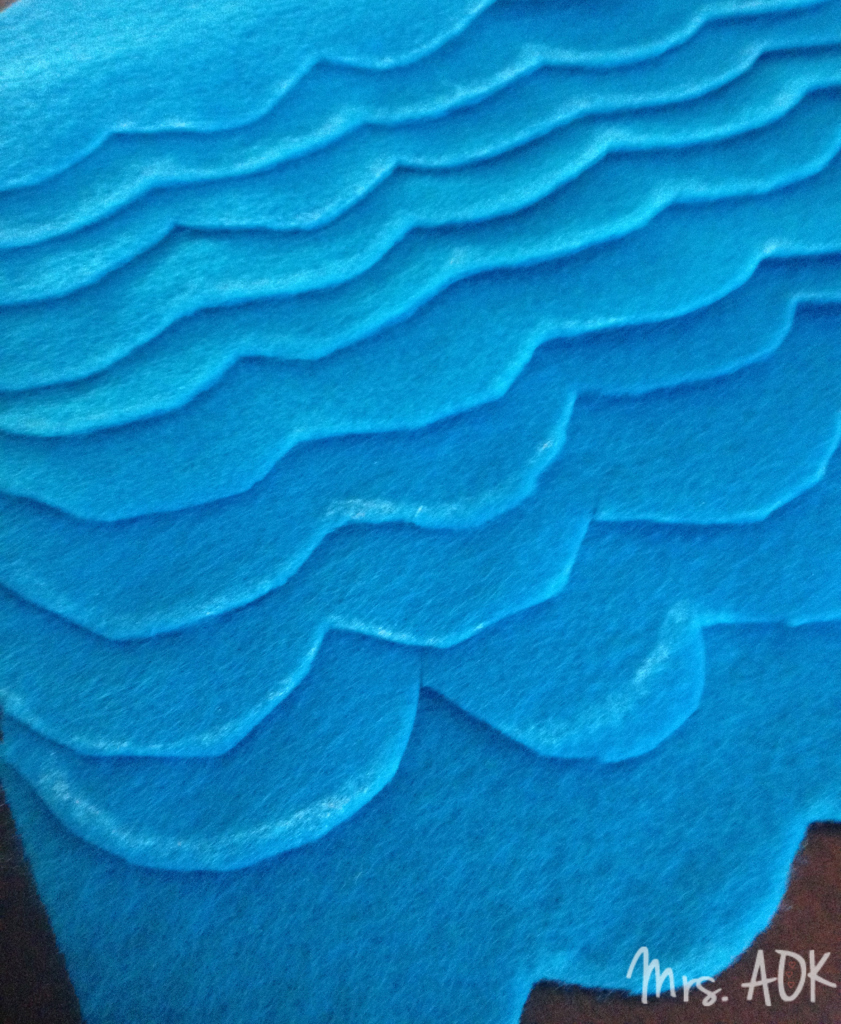 Once all the felt was cut, I laid the felt on the tank, to see how I wanted to layer it. I marked off where I would start and end with a washable marker and began to glue down the felt, leaving the ends of the felt glue-free to go back and trim. Once I was done gluing on the felt I had my daughter try on the tank, this gave me the opportunity to trim where I needed to trim. I did not like leaving the top portion alone, it looked unfinished to me, so I folded a piece of tulle over on itself and hot glued it on top of the felt. I also added some jewels with my jewel setter on the collar.
The tutu
For the tutu, I already had 2 rolls of chevron tulle I had purchased alooooooooooong time ago. The chevron tulle gave us a scale-like vibe, so we went for it. Unfortunately, those two rolls were not enough. We had to find a tulle that matched, we went with two more rolls of an aqua tulle. The tutu part was easy. Yes, it takes a little more time than the mermaid top. I promise if you’ve never made a tutu you’ll be amazed at how simple a no-sew tutu is. I promise!
Here’s what you need to do:
First you’ll need to measure your kiddo, I don’t get technical I just place the tulle to the desired length and then double it. Once you have your desired length you could measure that, or use the first strip of tulle as a template.
For the tutu waistband, I used an old pair of leggings my daughter used for jammies, and cut out the waistband.
Making the tutu
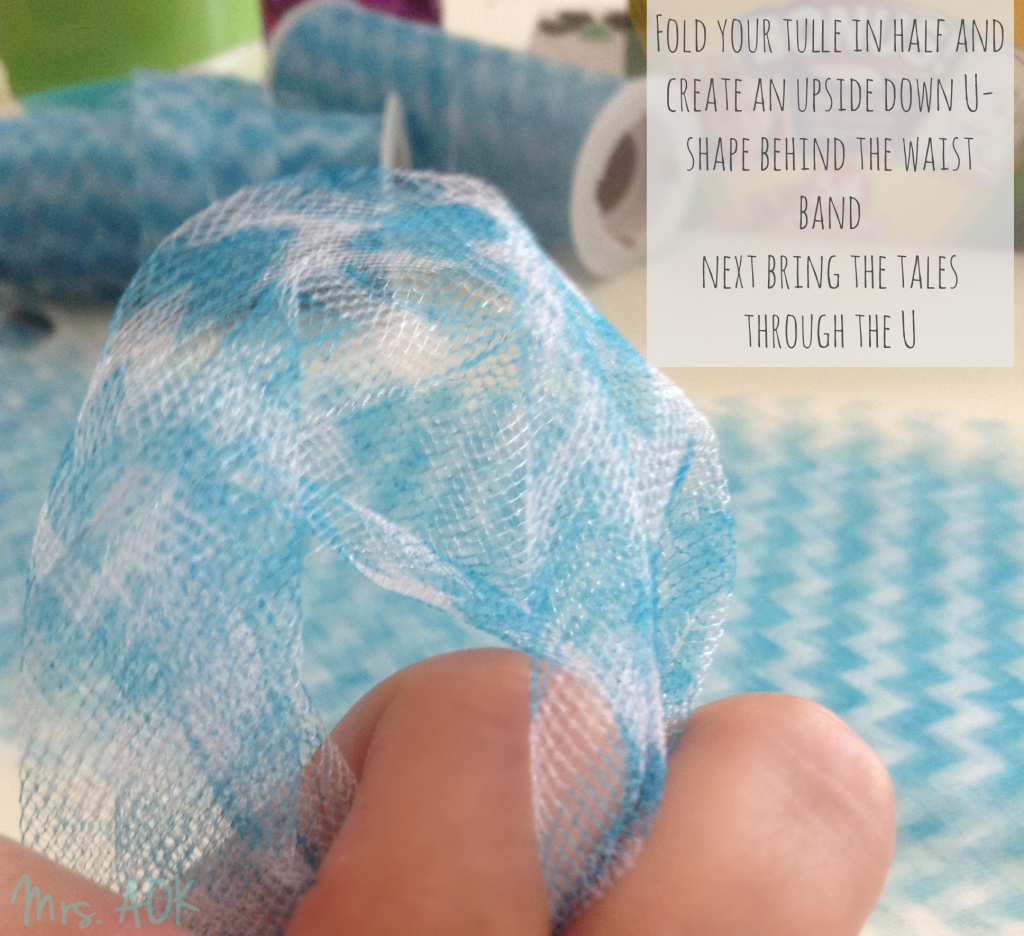
Once you have all your tulle cut into the desired length it’s time to get slip-knotting. You’ll want to fold your tulle in half forming an upside down u-shape. Next, bring the tulle through the u over the waistband and pull (making slipknots). You do not want to pull too hard because you will stretch out the elastic band. That would be no bueno. Keep repeating the process until you have completed the circle.
You will probably want to trim your tutu-making sure everything is even. I had my daughter try it on while I trimmed.
We added a starfish to really sale the whole mermaid thing. 🙂 The starfish was purchased at Michael’s. I glued the starfish onto a piece of tulle securing it with a piece of felt hot glued on both sides. I tied the tulle strip with the starfish attached to the front of my daughter’s tutu, that’s it. Pretty easy, right, and NO sewing machine required 🙂
Do you want to see how I made the crown? I’m sharing that little DIY tomorrow 🙂
XXOXO




Chastity
October 28, 2014 at 12:43 pmToo cute! I love that it’s no sew. I can totally make it with your great directions. I love the starfish too! XOXO
MrsA0K2001
October 29, 2014 at 12:26 pmThanks, Chastity! I’d love to see you get crafty 🙂
XOXO
Chastity
October 29, 2014 at 12:59 pmI hope you’re into avant-garde pieces, because that’d be the only way to describe what I can make 🙂 xoxo
MrsA0K2001
October 30, 2014 at 10:57 pmI’m sure you’ll do beautiful work. Plus avant-garde is chic 😉
XOXO
Corina Ramos
October 28, 2014 at 4:10 pmI love this idea especially because it’s no-sew because I can’t sew to save my life! You’re one crafty lady :).
MrsA0K2001
October 29, 2014 at 12:28 pmI live for NO-SEW crafts 🙂 I’m a hot glue queen! I do want to learn how to sew though, I just need to save up for a sewing machine.
And thank you ♡
XOXO
Bev
October 29, 2014 at 7:05 amThat is adorable! I am very impressed with your costume-making skills.
MrsA0K2001
October 29, 2014 at 12:29 pmThank you, Bev!
XOXO
Tamara
October 29, 2014 at 11:13 amThe shells! Wow. This is incredible and she looks so beautiful and happy. My daughter still thinks she might turn into a mermaid one day and surprise us all.
MrsA0K2001
October 29, 2014 at 12:33 pmThank you, Tamara. My baby girl is loving her mermaid-ish costume; she cannot wait to wear it Thursday to school 🙂
My daughter is a shell collector, she has about a dozen on her desk from this weekend, so the crown is her favorite part.
I think Scarlet and my baby girl would totally hit it off 🙂 little mermaids
XOXO
Shelly
October 29, 2014 at 3:37 pmHow cute, the costume AND the girl wearing it!
MrsA0K2001
October 30, 2014 at 2:22 pmWhy, thank you, I’m quite fond of both achievements 😉
XOXO
Tricia the Good Mama
October 29, 2014 at 10:30 pmAw, this is really cute! It looks easy enough to put together too! Your daughter is adorable too!
MrsA0K2001
October 30, 2014 at 2:24 pmHey Tricia,
I promise, this is quite simple, you don’t have to be a level 10 crafty pants, to do this 🙂 And, thank you, I’d like to say she gets it from me but she resembles my hubby.
XOXO
Sonya
October 30, 2014 at 11:01 amThis is really cute. Today I’ll be making my first no sew tutu for myself and my daughter for our Halloween costumes. I’m hoping that I have enough tulle. I bought seven yards, so we see 🙂
MrsA0K2001
October 30, 2014 at 2:25 pmThank you, Sonya. Please let me know how the tutu-making goes 😉 I’m sure you’ll do wonderfully! Just have fun 🙂
XOOXO
Theresa @DearCreatives
July 20, 2015 at 4:01 amThanks for sharing at the Inspiration Spotlight Party! Pinned & shared. This is a super cute costume & idea. Thanks for sharing your diy with us! Hope to see you again soon.
MrsA0K2001
July 23, 2015 at 11:05 pmThank you! I appreciate the shares 🙂
XOXO
Theresa @DearCreatives
July 23, 2015 at 8:31 pmYour costumes will be featured at this week’s party. Hope to see you there! Feel free to share another post. Grab a featured button & join in again!
MrsA0K2001
July 23, 2015 at 11:06 pmTHANK YOU, THANK YOU, THANK YOU!! This is awesome, thank you! 🙂
I cannot wait to join…. I’ll have to look through my blog to see what DIY to link-up next. Thank you!
XO
Tanya @ Mom's Small Victories
September 26, 2015 at 9:45 amOh my word, this is such an adorable costume. I wish I had even the slightest ability to sew. Thanks for sharing with Small Victories Sunday linkup. Pinned to our linkup board and sharing on my blog FB page. Hope you join us again tonight and linkup your best posts, old or new!
MrsA0K2001
September 29, 2015 at 9:13 amThank you!!! I’m so glad you like the costume! The beauty of this DIY: no sewing. 🙂
I wish I could sew too. Thanks again for the shares!
XOXO
Leigh Powell Hines
September 26, 2015 at 4:02 pmThis is so cute. Thank you for linking up with us.
MrsA0K2001
September 29, 2015 at 9:38 amThank you, Leigh! I’m glad you liked the costume and thanks for the party! 🙂
XOXO
lauren
September 16, 2016 at 1:00 pmThis is adorable! I love anything that is no-sew!
MrsA0K2001
October 3, 2016 at 5:56 pmI have no idea why my blog put you in SPAM!! Sorry, I’m so late responding to this. I’m glad I found you before your comment was deleted.
I’m all about no-sew, mainly because I can’t sew. But if I could, I would sew myself outfits each week. 😀
XOXO
Lisa Nelson (@Squishablebaby)
October 1, 2017 at 7:45 pmThis is super adorable! I love it! Maybe I will make one for Roya. Thanks so much for the idea!
prettyflyforawhitemom
October 2, 2017 at 7:29 amI love this. Hope my girls get such a fun project so I can make them something so cute!! Love it